Concrete Preparation for Line Marking: Why Adhesion Fails (and How to Fix It)
The Hidden Reason Line Marking Fails on Concrete
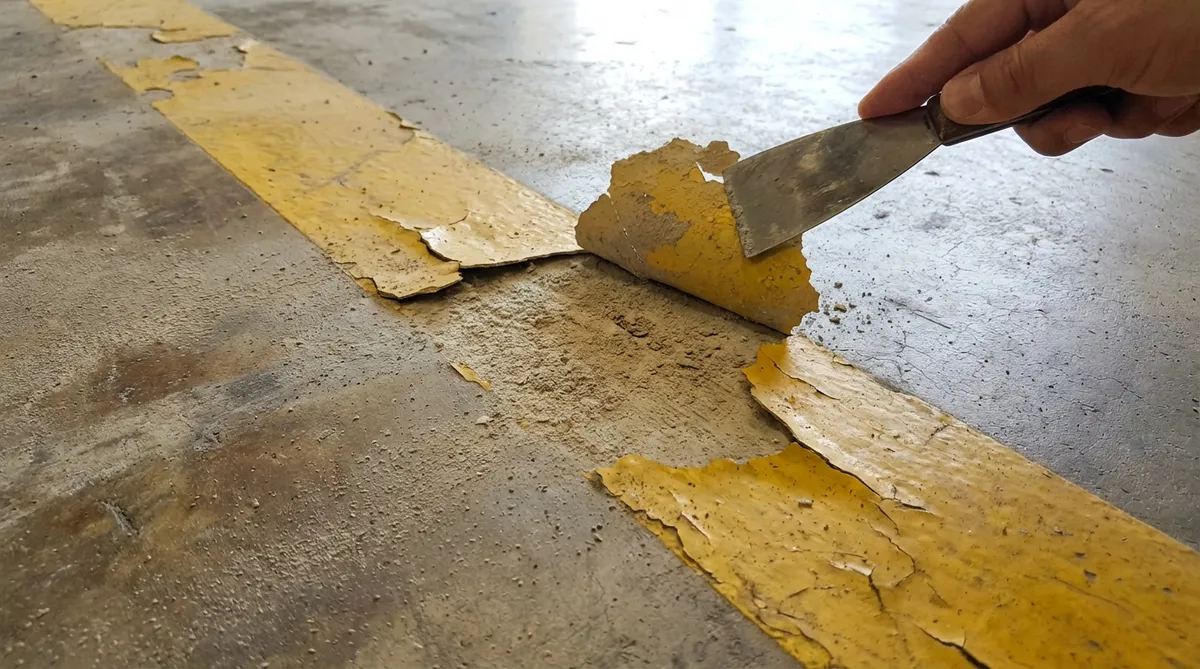
Most peeling, flaking or powdering line marking has nothing to do with the paint. The real culprit is almost always poor surface preparation. Concrete is unpredictable—new slabs leak moisture, older slabs accumulate dust and laitance, and curing compounds silently sabotage adhesion. If the substrate isn’t prepared correctly, even premium coatings will fail far earlier than expected.
This guide breaks down exactly why adhesion fails and how to fix it before paint ever touches the surface.
The Problem: Why Concrete Destroys Line Marking
Concrete is one of the most demanding surfaces for line marking due to its chemistry, porosity and curing behaviour. The biggest issues include:
Laitance on new slabs:
As concrete cures, a weak, powdery layer rises to the surface. Paint sticks to the laitance—not to the concrete—so it peels off in sheets once the laitance breaks down.Moisture trapped inside the slab:
Concrete breathes. Moisture vapour from below can push upward, lifting paint films or causing blistering. This is especially common in warehouses, car parks and areas with inadequate ventilation.Curing compounds and sealers blocking adhesion:
Slabs treated with curing compounds, hardeners or acrylic sealers form a barrier that prevents coatings from bonding. The paint dries, but it sits on top like a sticker—easy to scratch off.Dust, fines and micro-debris:
Even “clean” slabs harbour silica dust and fine particles that behave like ball bearings under the coating. This leads to patchy bonding and early wear in tyre paths.Oil contamination and unseen residues:
Forklifts, cars and construction equipment deposit oils that penetrate the slab. Paint won’t bond to contaminated zones without proper treatment.
The Solution: High-Quality Surface Preparation
Proper concrete prep isn’t complicated—but it must be systematic. The aim is to remove weak layers, neutralise contaminants and stabilise the surface so paint can form a mechanical and chemical bond.
1. Assess the concrete condition
Before preparing the surface, confirm:
- Age of concrete (has it cured at least 28 days?)
- Exposure to curing compounds or sealers
- Moisture levels and vapour pressure
- Traffic type: forklifts, heavy vehicles, cars, or light-use pedestrians
Understanding this determines the level of prep required.
2. Remove laitance and weak surface layers
Laitance is the number one cause of early coating failure. It must be removed through abrasive preparation such as diamond grinding to expose stable concrete beneath.
Grinding ensures:
- A uniform, non-powdery surface
- Proper profile for coating adhesion
- Removal of micro-cracks, dust and surface inconsistencies
For new developments and PC deadlines, scheduling grinding early prevents delays later.
3. Eliminate moisture issues
Moisture testing is essential, especially in:
- Cold storage facilities
- Newly built warehouses
- Basement car parks with poor ventilation
- Slabs poured in winter
If moisture is above tolerance levels, plan for drying time or use moisture-tolerant coatings.
4. Address contamination
Oil-soaked concrete creates invisible adhesion failures. Address this using:
- Degreasers formulated for concrete
- Mechanical agitation
- Hot water pressure cleaning (where appropriate)
- Spot grinding for deep contamination
Do not paint over visibly darkened, slick or glossy patches.
5. Consider sealing the surface
On highly porous or dusty concrete, a compatible sealer or primer improves:
- Coating uniformity
- Longevity under heavy traffic
- Resistance to peeling or edge wear
Sealers must match the paint chemistry—water-based primers under water-based coatings, solvent-compatible primers under solvent systems, etc.
Why Professional Application Matters
Concrete preparation is the difference between a coating that lasts two months and one that lasts two years. Professional line marking teams bring:
- Correct grinding equipment to remove laitance consistently, not patchily.
- Moisture and porosity testing to prevent hidden failures.
- Knowledge of curing compounds and how to overcome them through grinding or compatible primers.
- Coating selection matched to the concrete condition, not “one-size-fits-all.”
- Workflow sequencing with other trades to ensure the slab stays clean after prep.
These steps ensure the paint bonds to concrete—not dust, laitance or contaminants.
Conclusion
Line marking lasts only as long as the concrete surface beneath it allows. Most adhesion failures are entirely preventable with proper substrate preparation. By addressing laitance, moisture, contamination and surface stability upfront, builders and facility managers avoid costly rework and get a durable, long-lasting result. Investing in proper preparation isn’t a luxury—it’s the foundation of every successful line marking job.